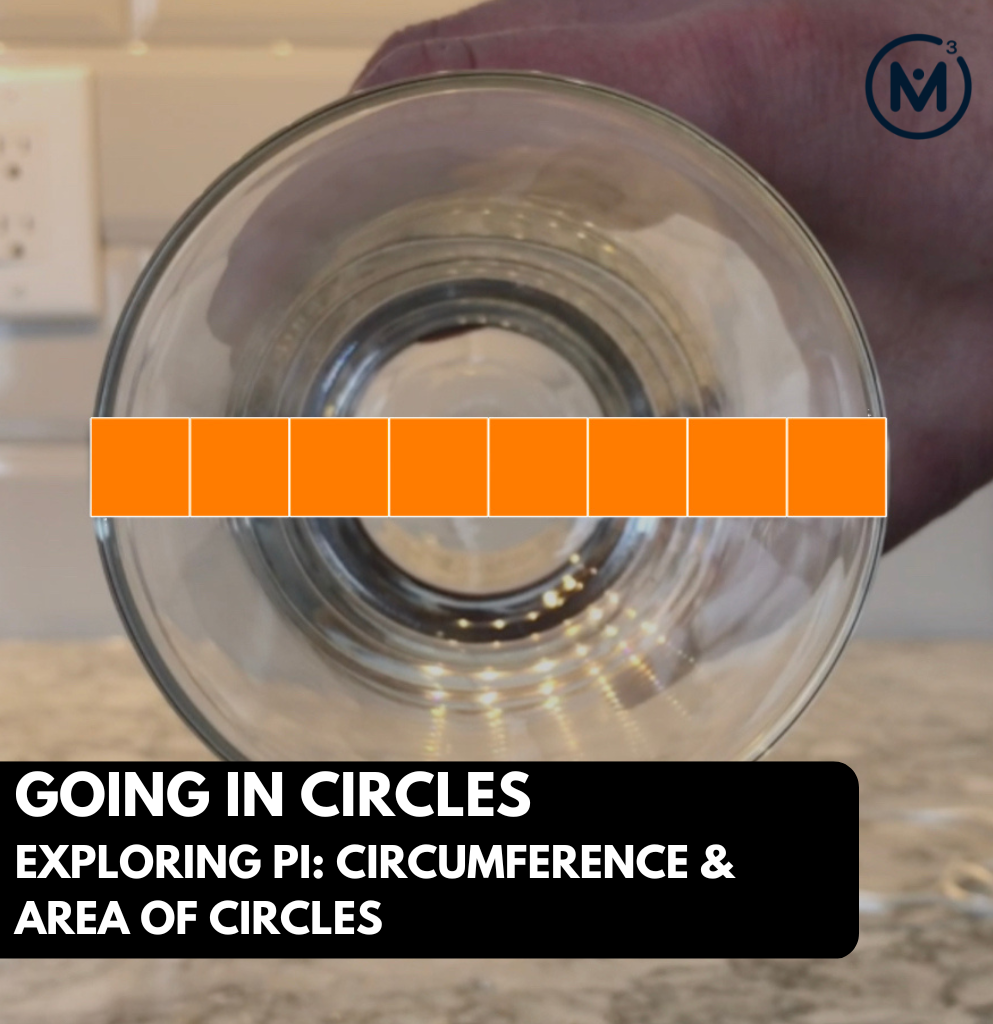
What Do You Notice? What Do You Wonder?
Show students the following video:
Then, ask students:
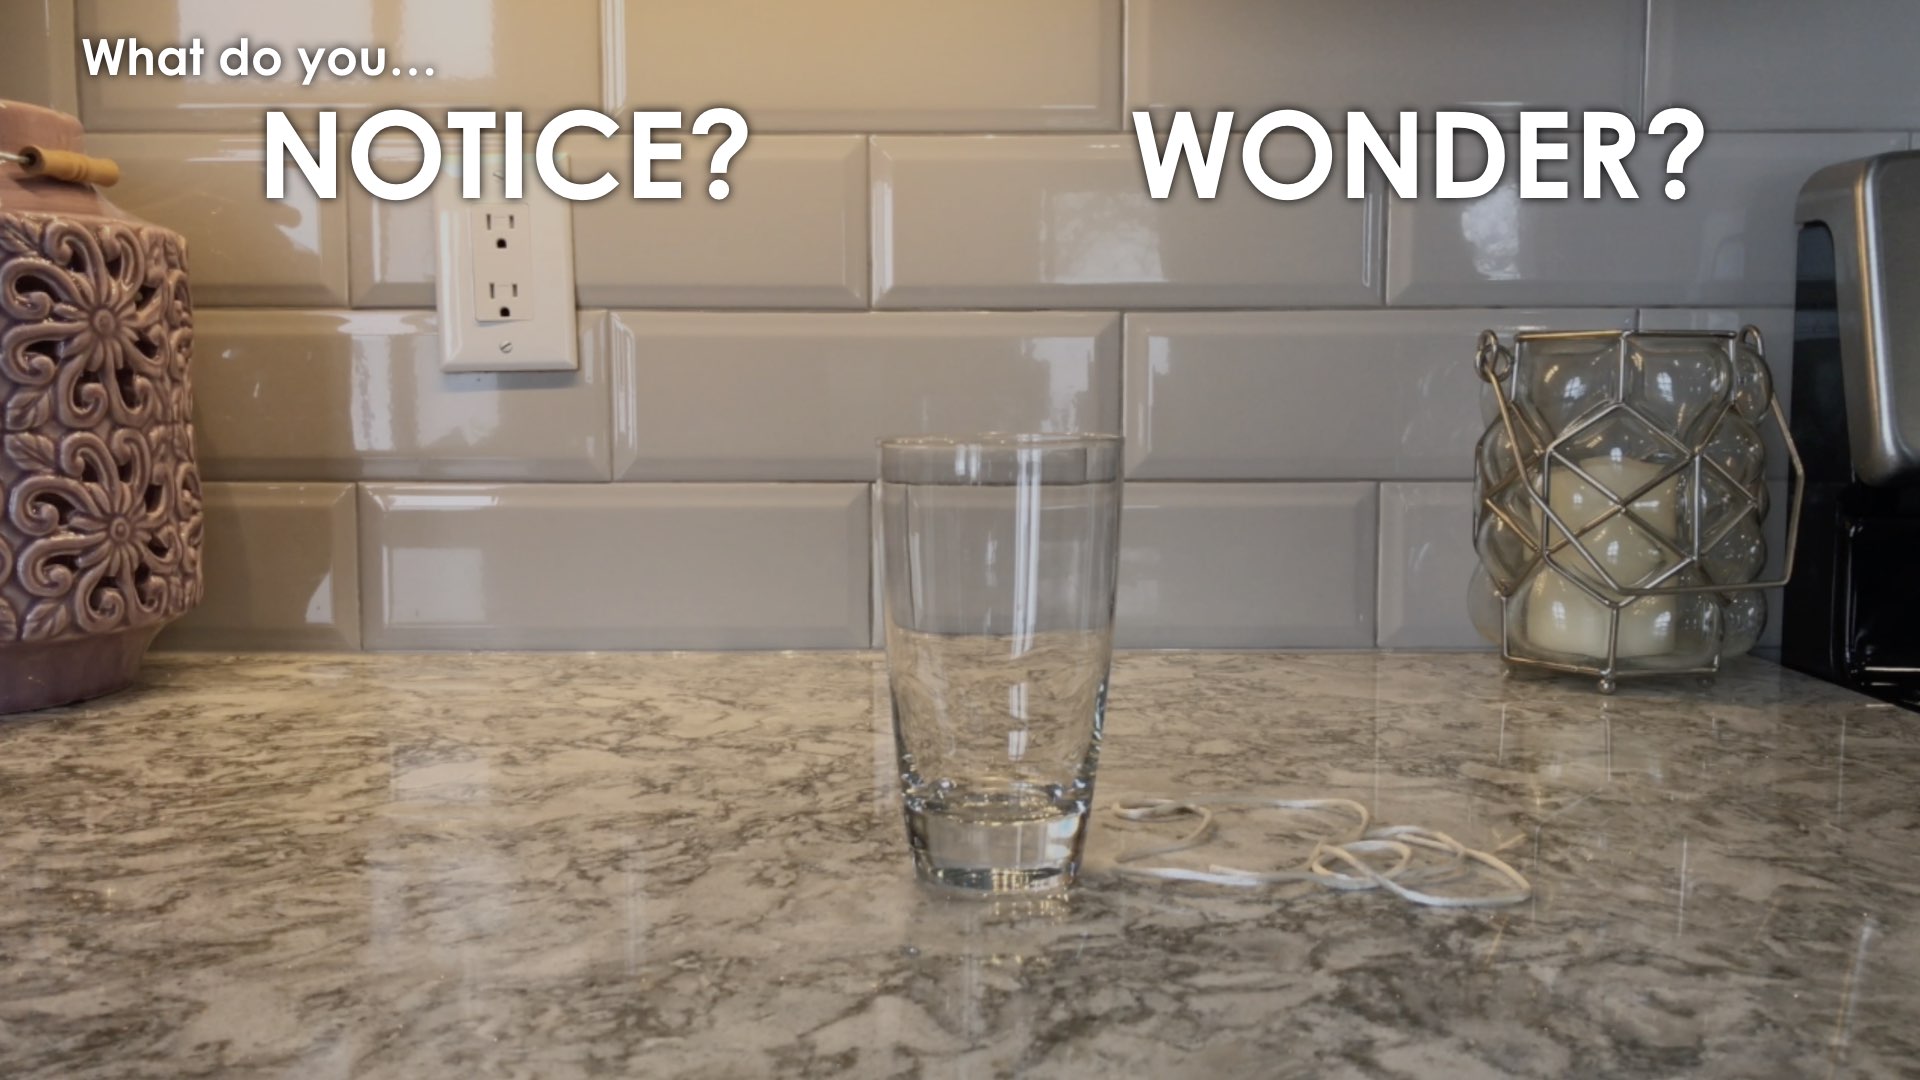
What do you notice?
What do you wonder?
Give students 60 seconds (or more) to do a rapid write on a piece of paper.
Replaying the video and/or leaving a screenshot from the video up can be helpful here.
Then, ask students to share with their neighbours for another 60 seconds.
Consider sharing the following video to give them a closer look at the glass itself:
Finally, allow students to share with the entire group. Be sure to write down these noticings and wonderings on the blackboard/whiteboard, chart paper, or some other means to ensure students know that their voice is acknowledged and appreciated.
Some of the noticing and wondering that may come up includes:
- I notice a clean kitchen.
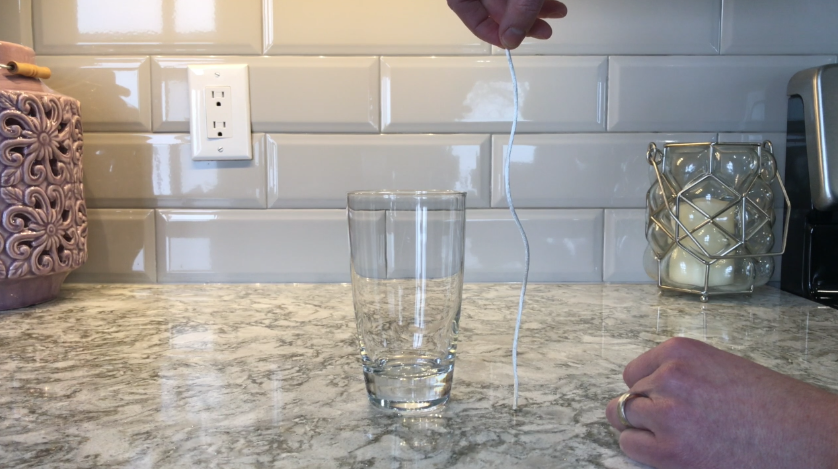
- I notice a glass.
- I notice string.
- I wonder why there is a string on the counter?
- I wonder if you will be using the string to wrap around the glass?
- I wonder if the person is about to pour a drink?
At this point, you can answer any wonders that you can cross off the list right away and of course, you can create your own answers for some of these wonders as you leverage your storytelling skills. For example:
- You could explain who the person is (is it you? a friend? a family member?)
- You could explain what kind of drink they were planning to have (orange juice? water?)
- You could start explaining what was going through your mind as the glass was placed on the countertop and mention that someone once asked you about which was longer: the distance around the top of the glass (circumference) or the height.
- And so on…
Spending times to acknowledge and address specific thoughts that students shared whether a notice or a wonder is crucial to building a culture in your classroom where students know that their voice is being valued and thus encourages them to continue sharing their thoughts and opinions later in this lesson and in future lessons.
Estimation: Prompt
After we have heard students and demonstrated that we value their voice, we can land on the first question we will challenge them with:
Which is longer: the distance around the top of the glass or the height of the glass?
Make an estimate.
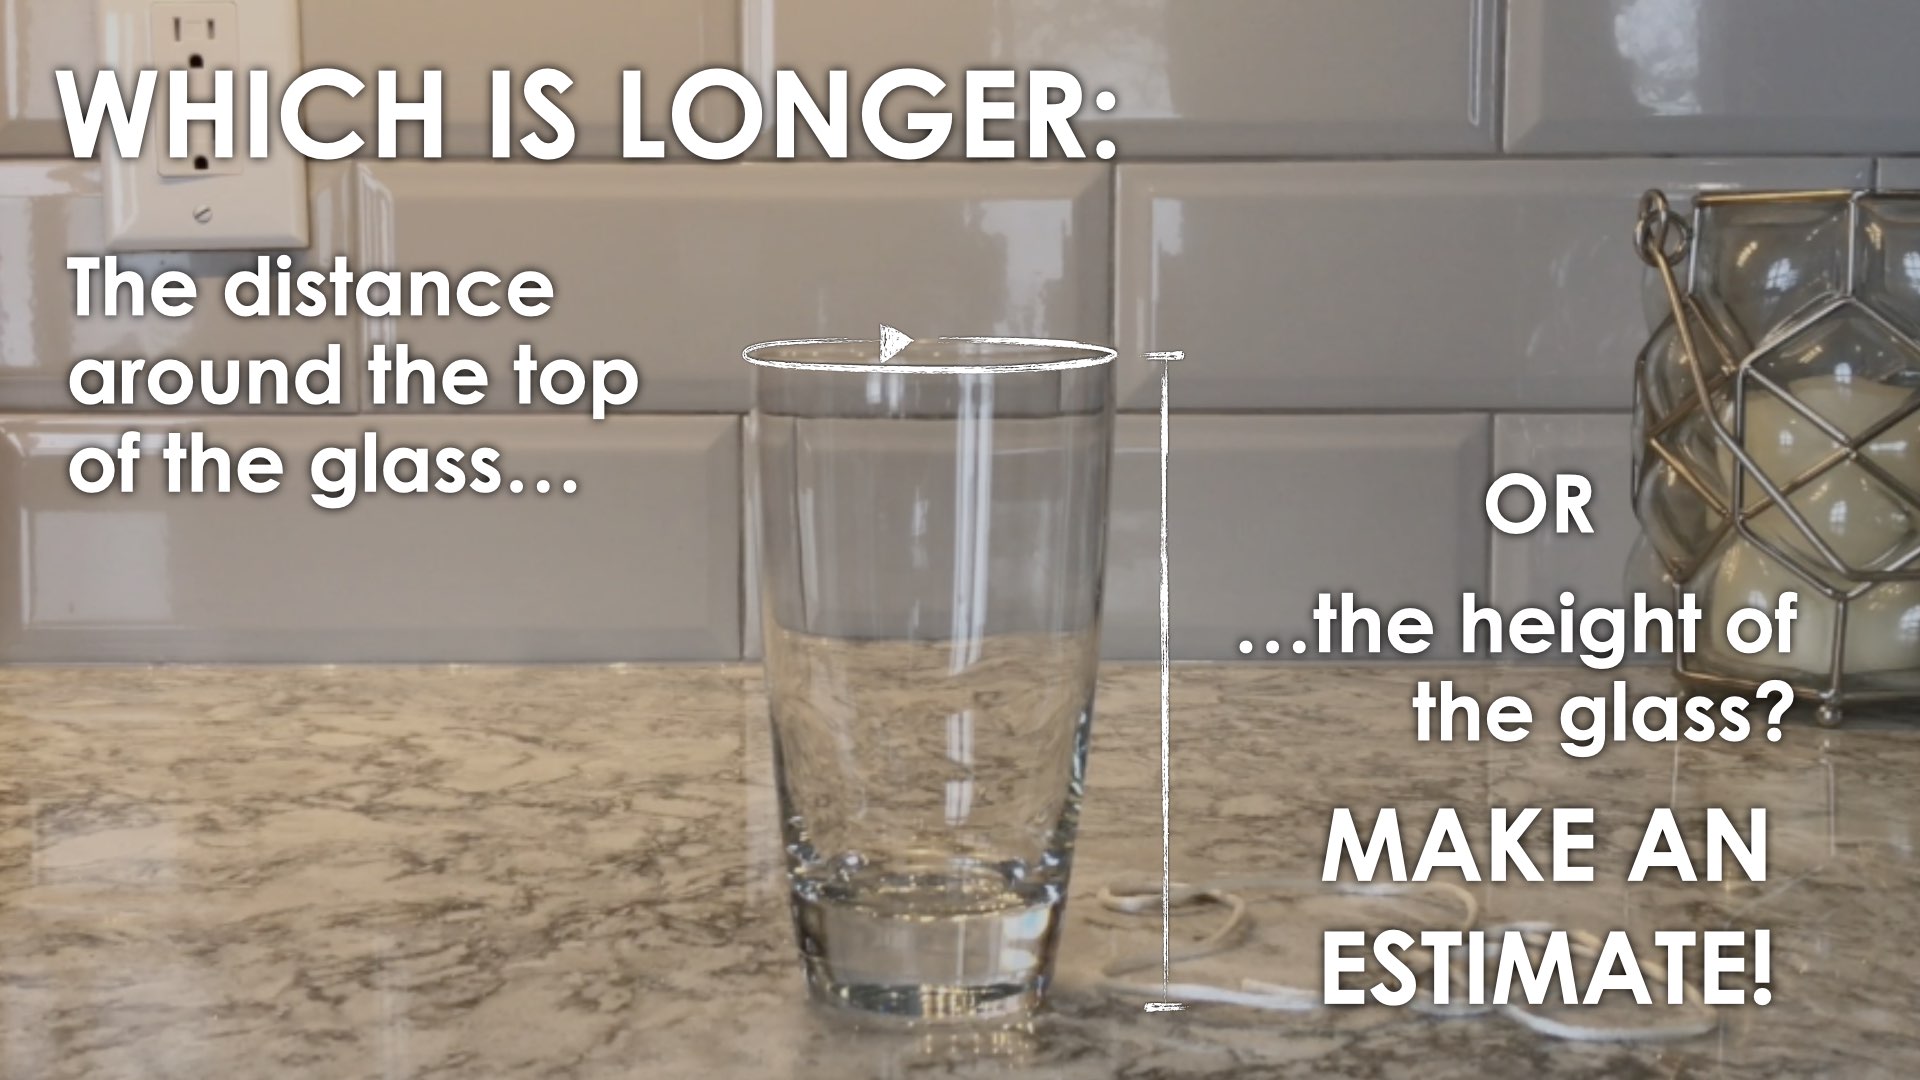
Be sure to clarify that we will be exploring the distance (circumference) around the top of the glass where it appears to be widest.
Be sure not to skip over asking students to make an estimate using only their spatial reasoning skills as this is a very important step in the Curiosity Path. Providing students an opportunity to make an estimate and try to articulate their thinking with their peers provides a very low floor opportunity for them to not only better understand the context, but to also begin nudging them to think about what will be important to make their estimate more precise as we continue through the lesson.
Investigation
Provide students (or ask students to gather) cylindrical objects for them to explore with the intent of updating their original estimate with a more precise estimate.
Prompt students to:
Explore various glasses and/or cylindrical objects and compare the circumference of a base from these cylinders to its height using a non-standard measuring tool (i.e.: string, paper strip, etc.).
Record your results.
Are the results what you expected? Were there any surprises?
Record these reflections as well.

Facilitator Notes:
Some students may be surprised by the results they observe when comparing the circumference of a base of a cylinder to its height. For cylinders that appear to be much taller than its width, in some cases the circumference is still longer.
Other students may not notice much of anything, which is an important observation the facilitator can use to help assess how far along the continuum of comparison they might be.
Are students struggling to make a non-standard measured comparison to see that one length is longer or shorter than the other? Are students making additive comparisons (the circumference is a little longer than) or multiplicative comparisons (the circumference is about 1 and 1 fourth times as long as)?
Investigation Share Out & Update Estimates
Give students the opportunity to share out their findings from their investigation with their neighbours.
Walk amongst the groups to listen and observe their discussions so you can be intentional about how you select and sequence those who share and in what order. For example, giving students who haven’t necessarily landed on a firm conclusion first to share their current thinking is helpful to allow them to have a voice in this discussion.
Work your way to other students who may have noticed the surprise that in many cases, the circumference of the base of some cylinders was longer than the height even when the cylinder was much taller than wider.
After students have shared their thinking, give them time to revise their estimates based on what they observed and recorded from the investigation compared to the glass they see in the video.
Crafting A Productive Struggle: Prompt
Show students this short silent animation clip to reveal more information about the glass:
Prompt students by stating:
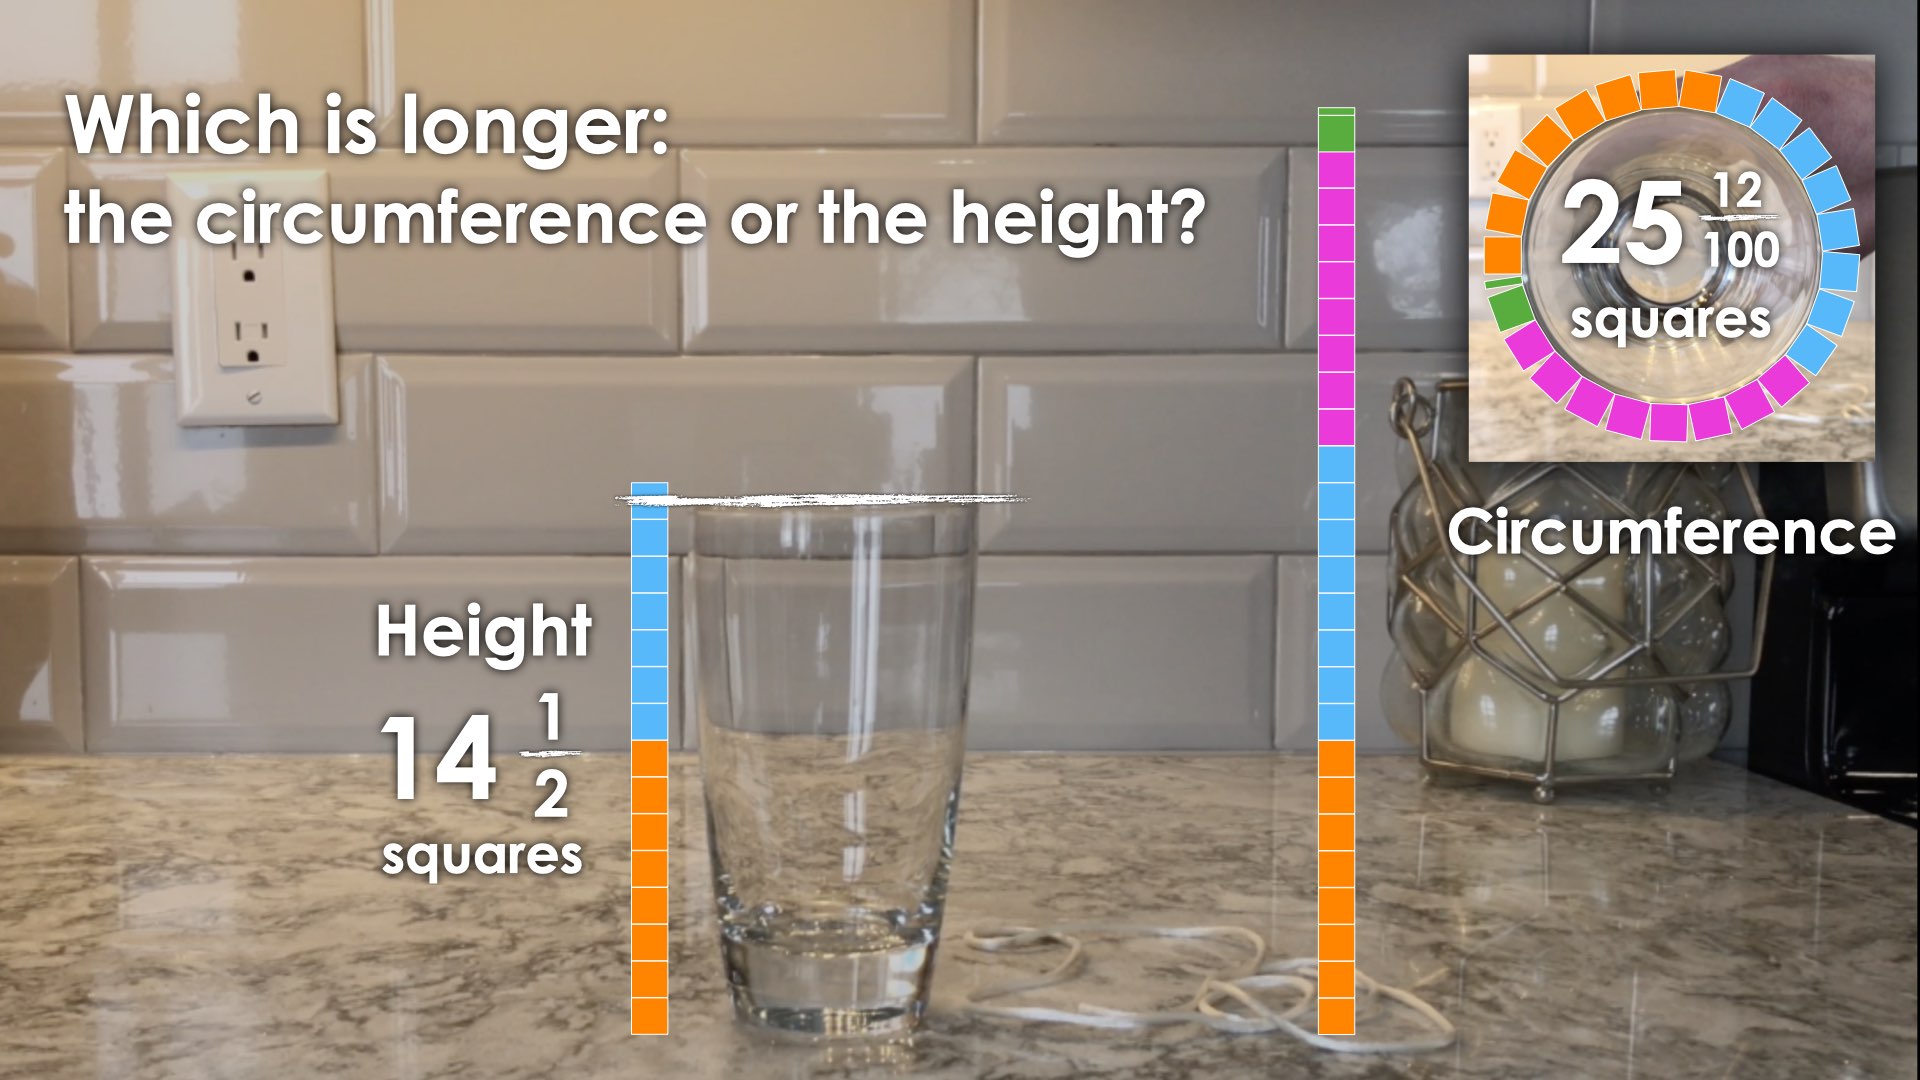
Which is longer: the circumference or the height?
Update your estimate.

You can also extend this prompt by asking:
About how much longer?
Convince your math community.
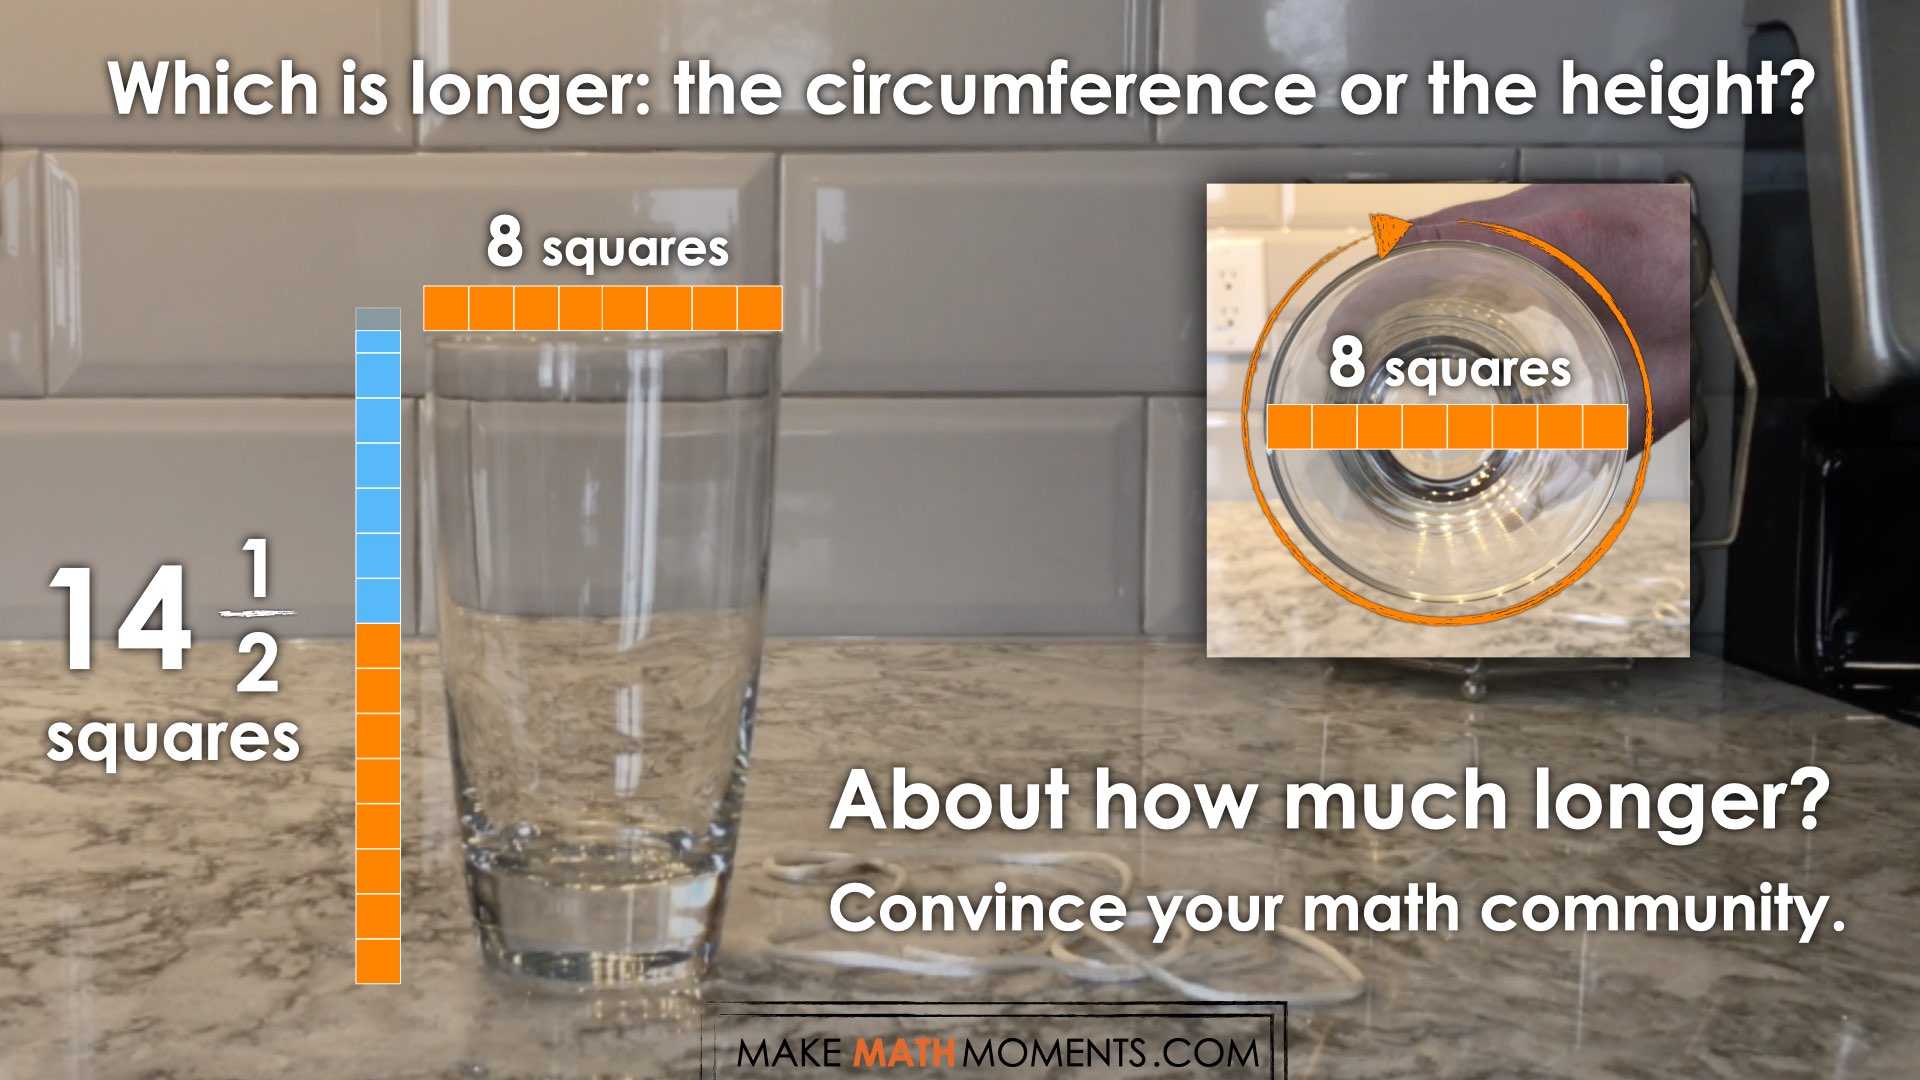
The intent here is to promote the idea of students estimating more precisely through a measured comparison using squares as a unit or count.
Facilitator Note:
Without providing students with a few purposeful questions, it is unlikely that many students will hypothesize that there is a relationship between the 8 square long diameter of the glass and the circumference. Thus, you will want to prompt students to go back to the cylinders they had already investigated to determine if there is some sort of relationship between the diameter and circumference.
A prompt such as:
The distance across the circle through the centre (the diameter) is 8 squares long.
Do you think this might be able to help us determine the circumference around the circle?
Revisit some of the cylinders you investigated to see if you notice a relationship that might be helpful.
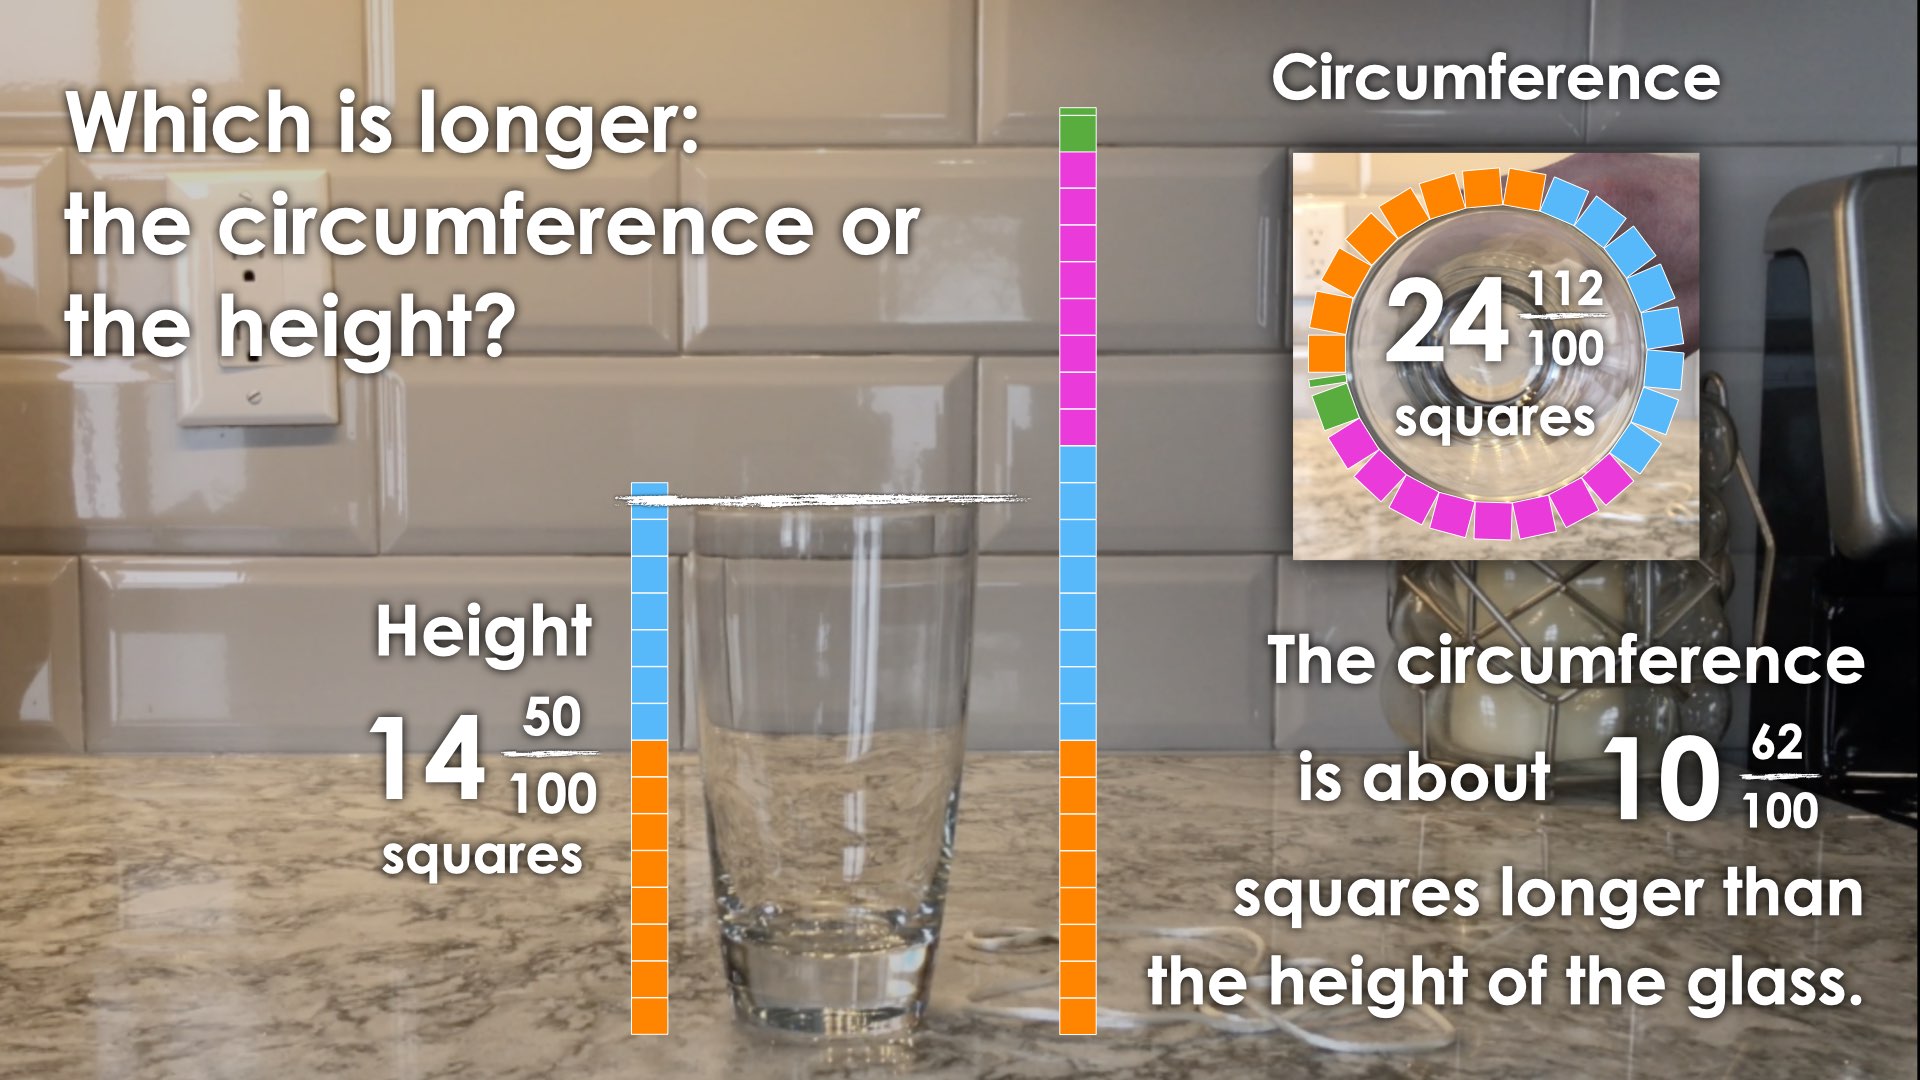
Reveal
Consider sharing the following reveal video with your students:
Consider leaving the following screenshot of the final frame up for students to reflect on.
During the consolidation, be sure to gather student work samples or make note of student approaches while you were monitoring as students work productively struggling.
Facilitate a discussion by referencing some of the student approaches including their strategies, tools and representations.
If a/some students noticed that there was a relationship between the length of the Circumference and the length of the diameter (whether it was on their own or from your purposeful questioning), be sure to ask one of those students to share their discovery with the group.
If students have not noticed something about the circumference and diameter is “interesting” or developing some sort of pattern, then you should use two (or more) of the cylinders with different diameters to now directly prompt students to consider the length of the Circumference and diameter of each. Something like:
Look at the base of both of these cylinders. Visualize the length of each diameter and the length of each Circumference. What do you notice? Can you make any claims or conjectures?
Many students will notice that the Circumference and the diameter is longer on the “wider” cylinder and both measures on the “thinner” cylinder are shorter.
Ask students if they notice anything consistent about the relationship between the circumference and the diameter. Possibly even have a volunteer measure both the diameter and Circumference of both cylinders to compare them.
Some students might get stuck thinking additively where they see that a circle with a diameter of say 5 cm has a circumference of about 15 cm and thus the circumference is about 10 cm bigger.
Be sure to help students think multiplicatively by noticing that a circle with a diameter of 5 cm has a circumference that is just about “3 times as big as”.
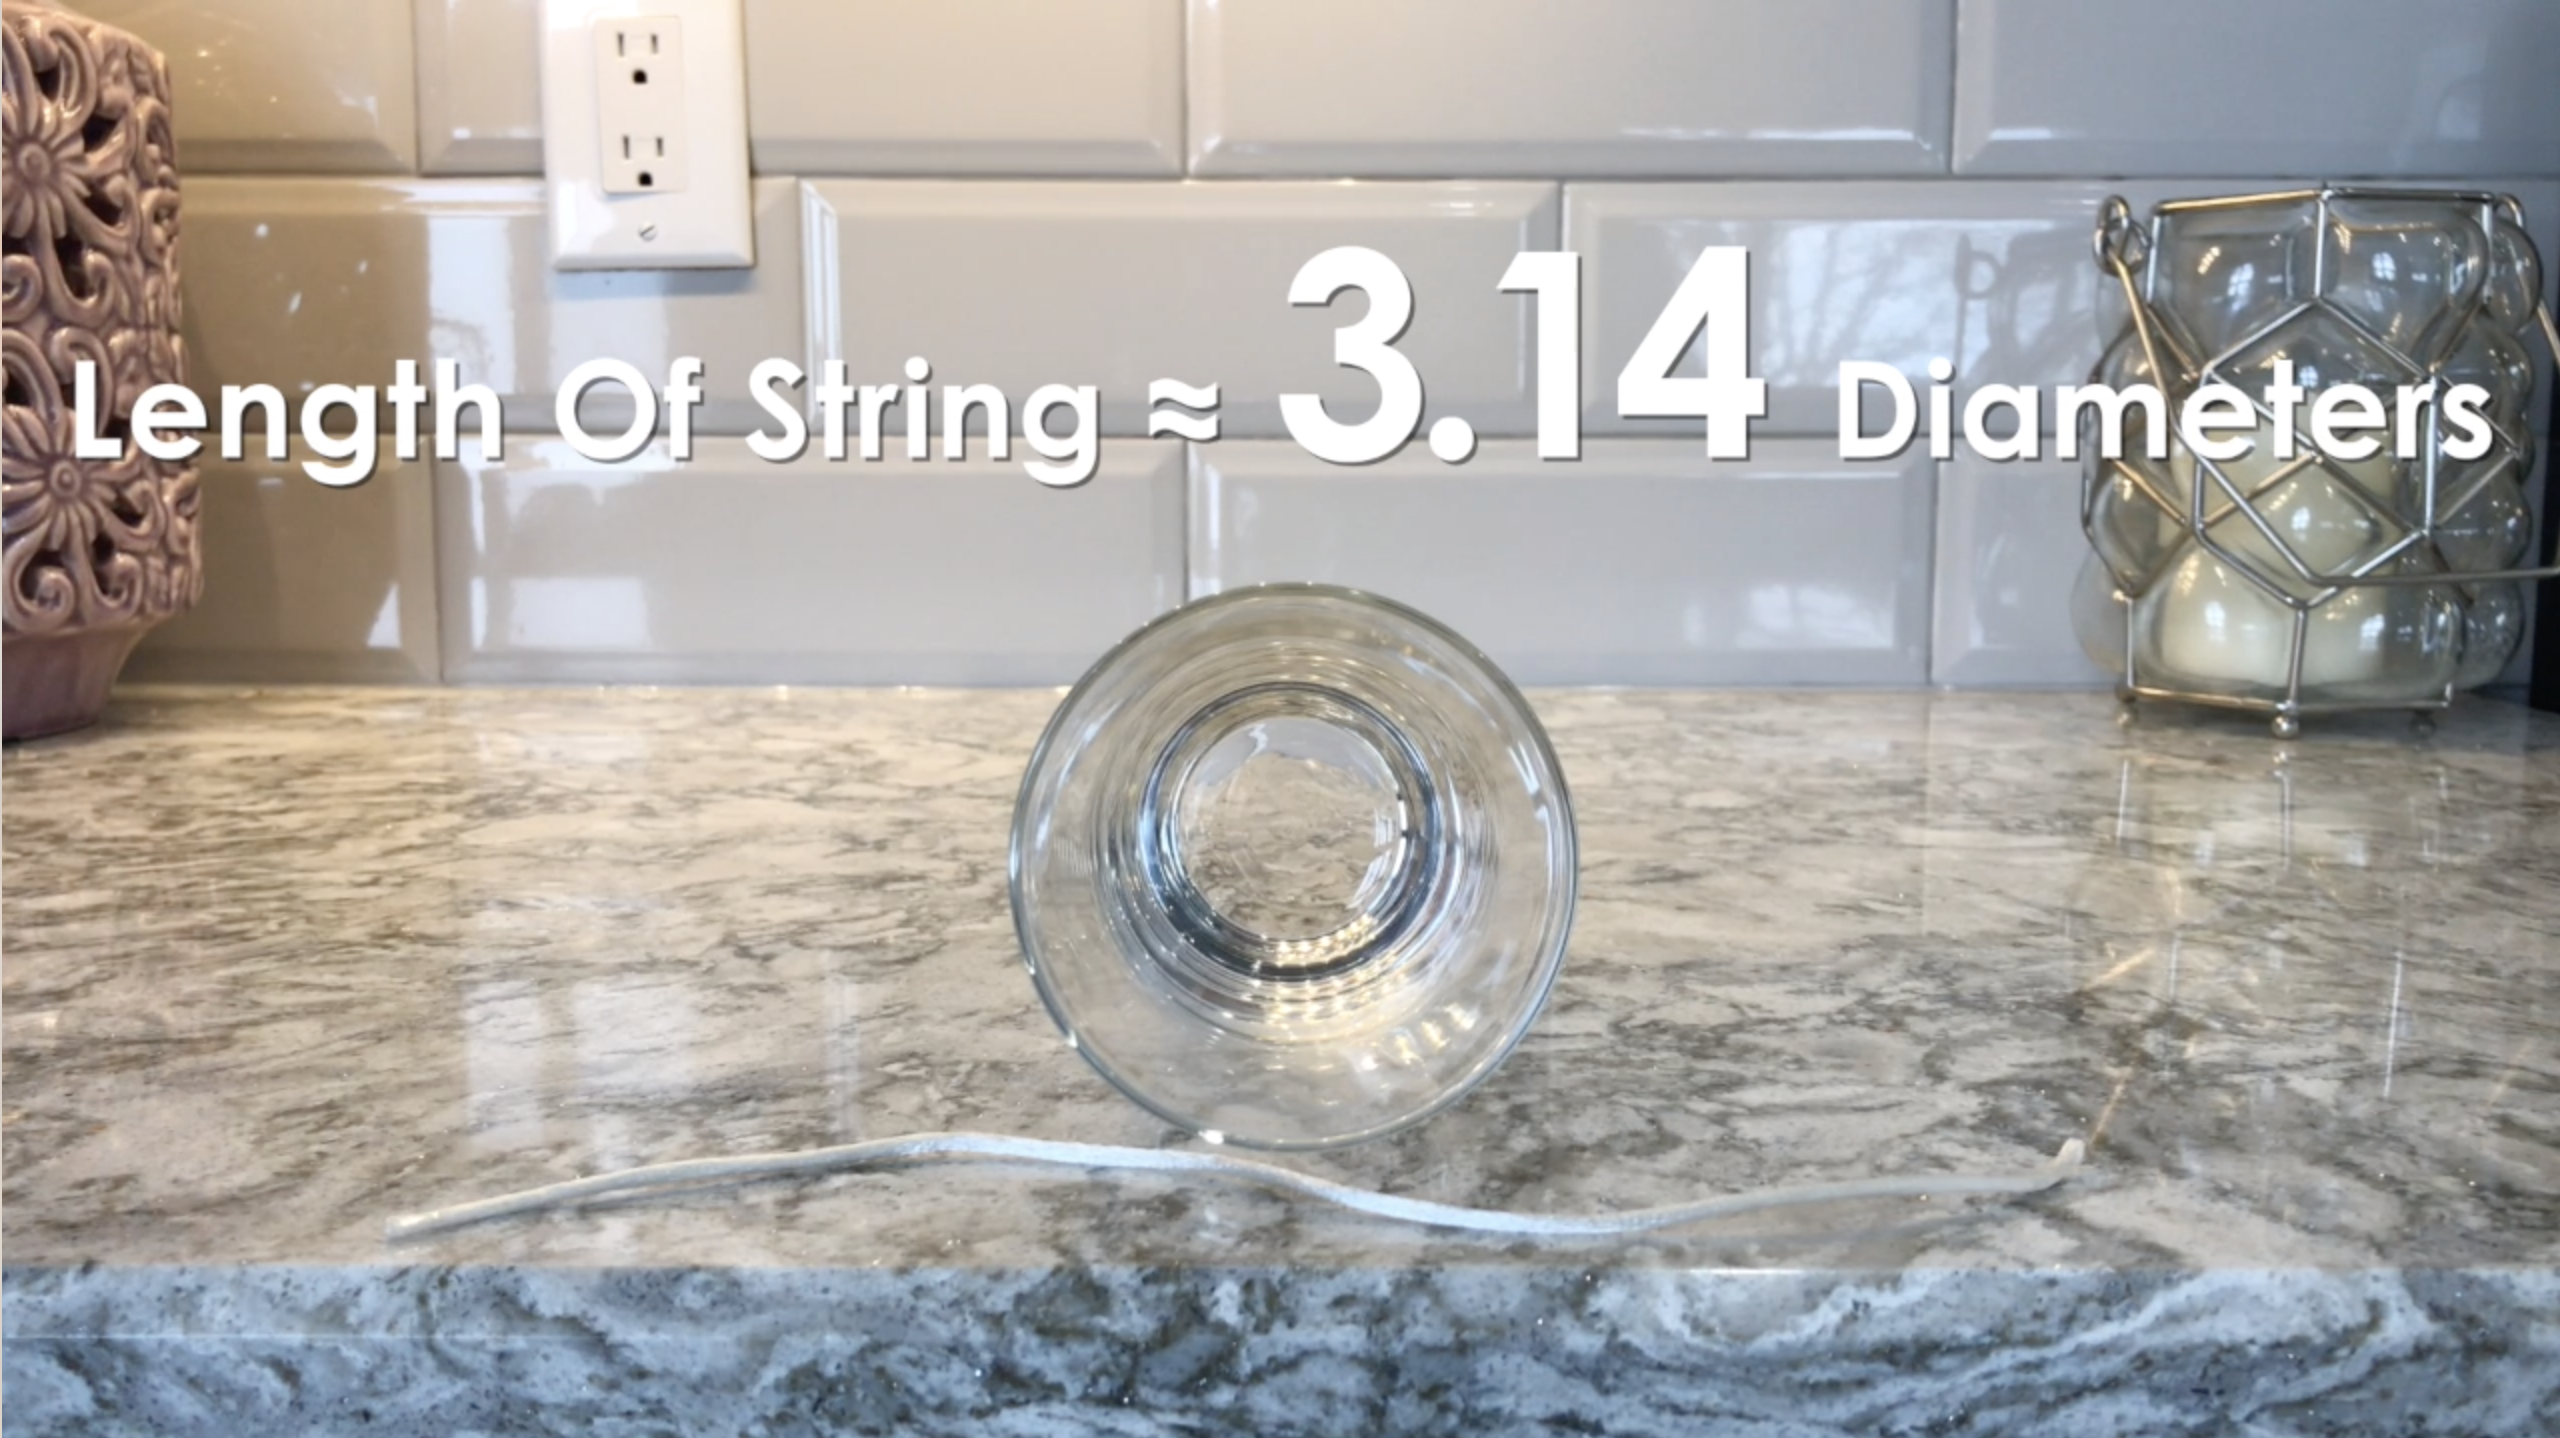
Have students check this multiplicative relationship for all the openings of each glass and they should come to the conclusion that the circumference of each opening is about 3 diameters in length or 3 times as big as the diameter.
We can now name this relationship that we’ve noticed as the ratio of the length of the Circumference to diameter as Pi, π.
Consider sharing the following silent solution animation video to visually show how just over 3 copies of the diameter are needed to “wrap” the perimeter of the top of the glass:
Here’s a screenshot of the final frame:
Note that you can also push students to leverage their prior knowledge of equivalent fractions to determine the difference between the length of the circumference and the height of the glass:
Promoting students utilizing their understanding of equivalence and fractions is important to allow them to continue building fluency with number and in particular, comparing and operating with fractions.
Provide students an opportunity to reflect on their learning by offering these consolidation prompts to be completed independently.
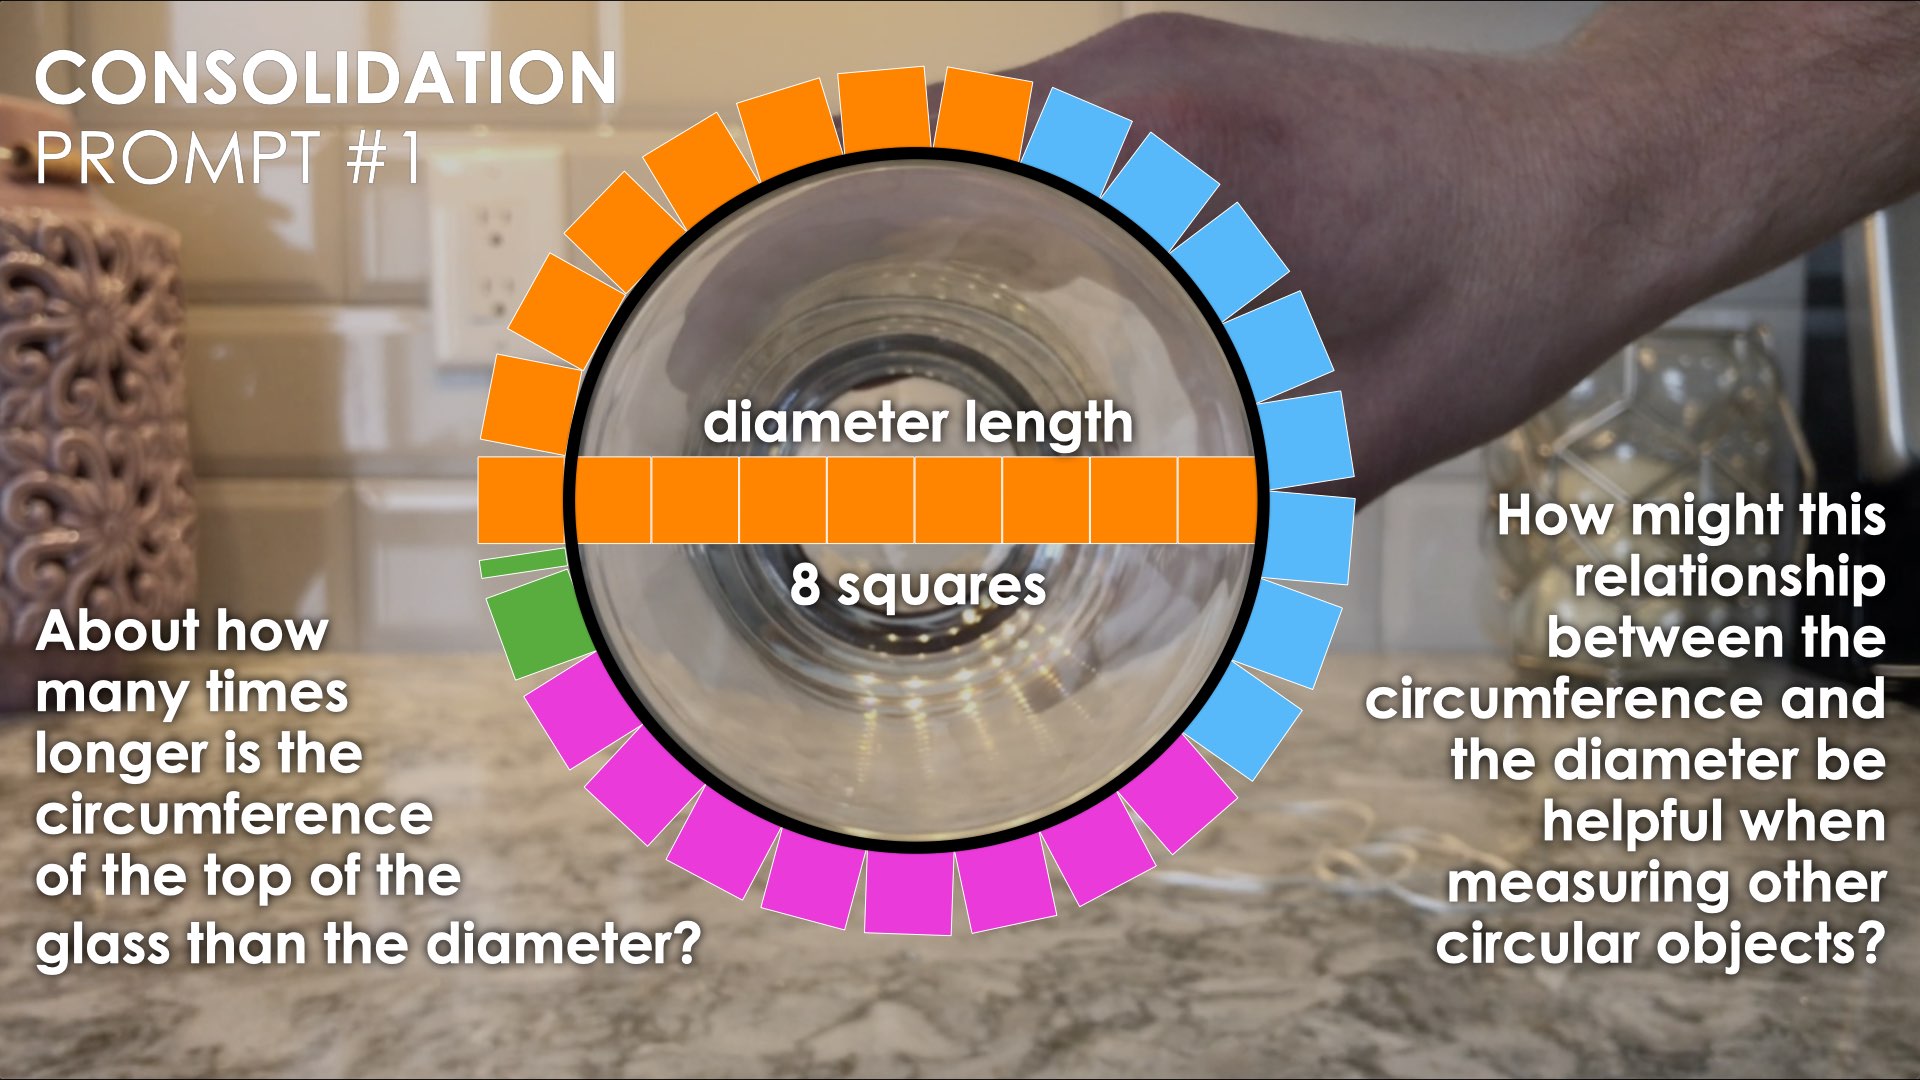
Consolidation Prompt #1:
About how many times longer is the circumference of the top of the glass than the diameter?
How might this relationship between the circumference and the diameter be helpful when measuring other circular objects?
After students share out the next day, you could share the following reveal video that reiterates the multiplicative relationship between the circumference and the diameter of a circle.
Here’s a screenshot of the final frame:
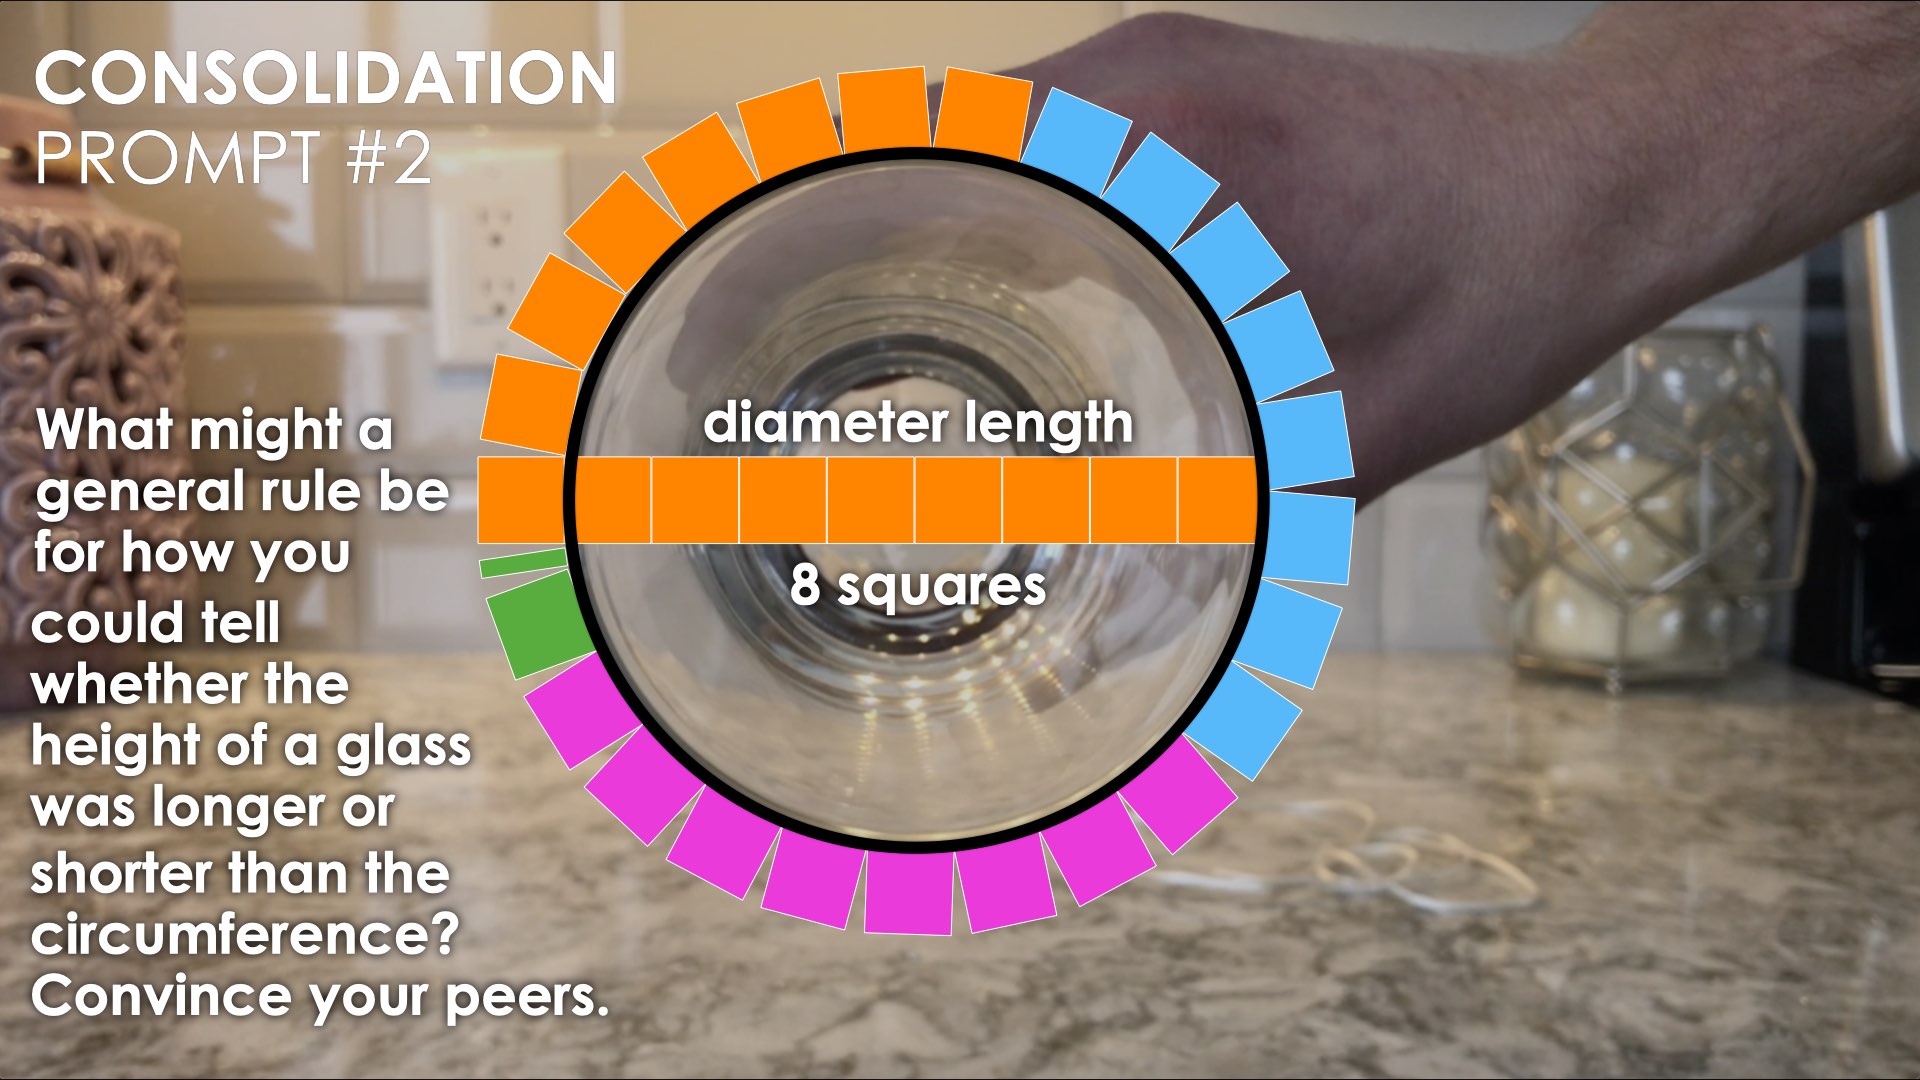
Consolidation Prompt #2:
What might a general rule be for how you could tell whether the height of a glass was longer or shorter than the circumference?
Convince your peers.
We suggest collecting this reflection as an additional opportunity to engage in the formative assessment process to inform next steps for individual students as well as how the whole class will proceed.